My pen plotter setup
Contents
- The Pen Plotter
- Setup
- Workflow
- Hello World
- Comments
I was unexpectedly gifted a pen plotter for Christmas last year! A few months later, I've got it set up and a workflow ready to go.
The Pen Plotter
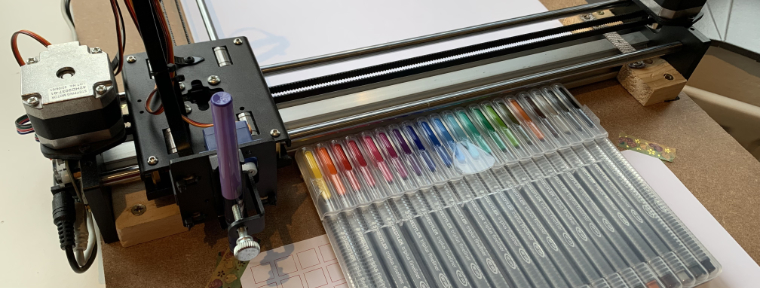
It's an iDraw A4 Pen Plotter - something I'd never heard of, but I hadn't looked into purchasing one before! This one came partially assembled, which made things much easier.
After assembling the rest, I navigated some of the referenced PDFs to get the software installed. I was on an Apple Silicon Mac and didn't want to install Rosetta 2, so it took me a little longer to get up and running. I found some Apple Silicon drivers on a WCHSoftGroup repo, and paired with InkScape, I was off with plotting their provided examples.
Setup
I quickly learned that the hardest part would be aligning the pen plotter with an A4 sheet of paper, and then maintaining that alignment for subsequent plots. I didn't like the idea of having to re-calibrate such a setup every time I wanted to plot something, so I sought a less temperamental solution.
The solution would be to:
- Fasten the device to an appropriately sized sheet of wood.
- Use the pen plotter to draw perimeters for multiple sizes of paper, e.g. A4, A5, etc.
- Know that I can place a piece of paper within the relevant perimeter for consistent alignment!
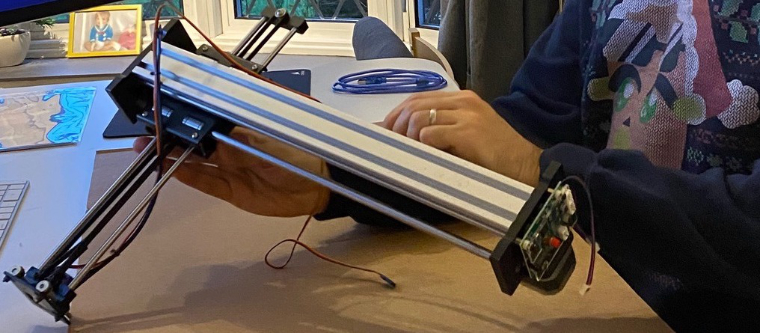
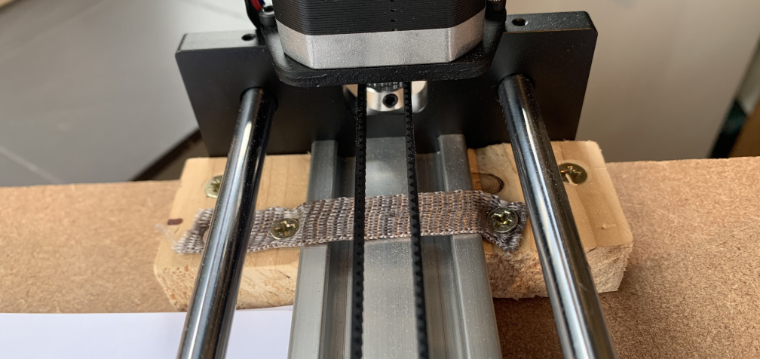
I had a somehow perfectly sized sheet of wood remaining from a previous project, but the real challenge was how to fasten the device. There were no downward-facing holes to take advantage of, but there's always a way.
I lined up the pen plotter to where I wanted it on the wooden sheet, held it down with a couple of clamps, and screwed four small blocks of wood tightly against its base. This was enough to keep it in, even when dangling it upside-down. To be safe, I fastened down the plotter with some anti-tip straps I had leftover from an old IKEA wardrobe.
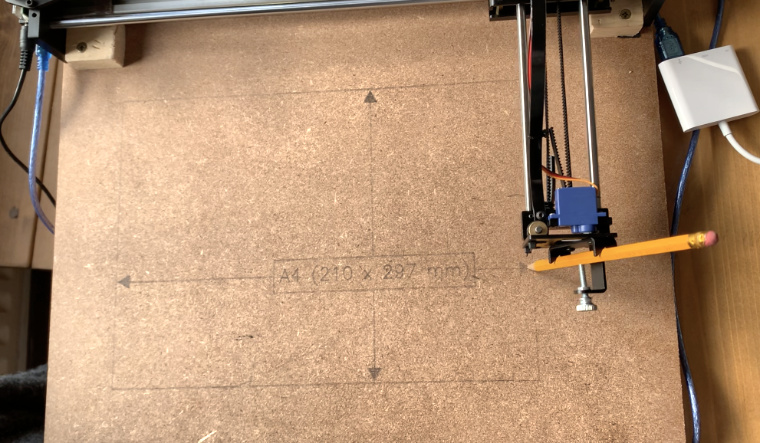
Satisfied that the contraption would outlive me, I finished up the physical side of the setup by sketching out an A4 perimeter. To hold the paper in place, I use some washi tape (donated by Stami Studios).
Workflow
I've kept my workflow straight-forward and using the software that's recommended by the manufacturer.
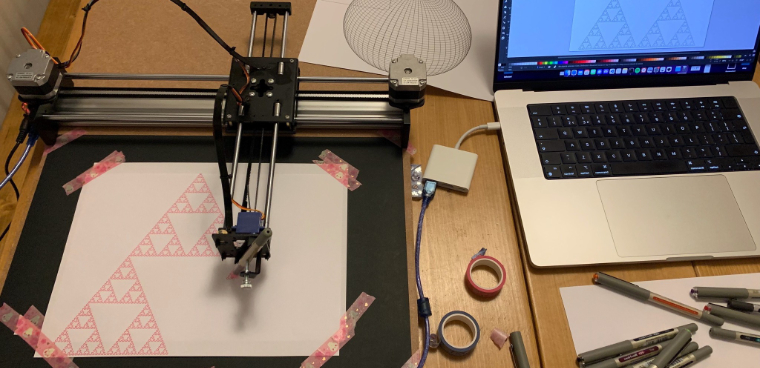
- Draw using p5.js.
- Save to SVG using p5.js-svg.
- Load up in InkScape and plot using the iDraw extension.
That should be enough to have some fun. I may look into API access in the future, but InkScape seems great in the meantime.
Hello World
A quick Hello World with the workflow above. Let's draw some squares with JavaScript and p5.js.
function setup() {
    createCanvas(200, 200).parent("container");
}
function draw() {
    for (let x = 5; x < width; x += 50) {
        for (let y = 5; y < height; y += 50) {
            rect(x, y, 40, 40);
        }
    }

  noLoop();
}
A short GIF of it drawing the above.
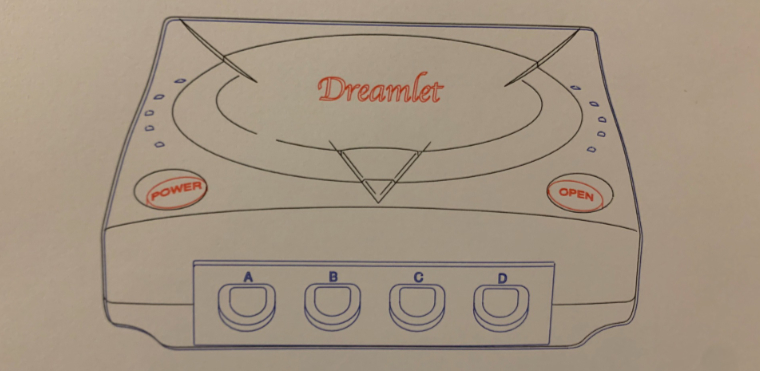
More interesting plots to come in the future! I'll leave you with this plot of the Dreamcast, where I experimented with different layers and colours.